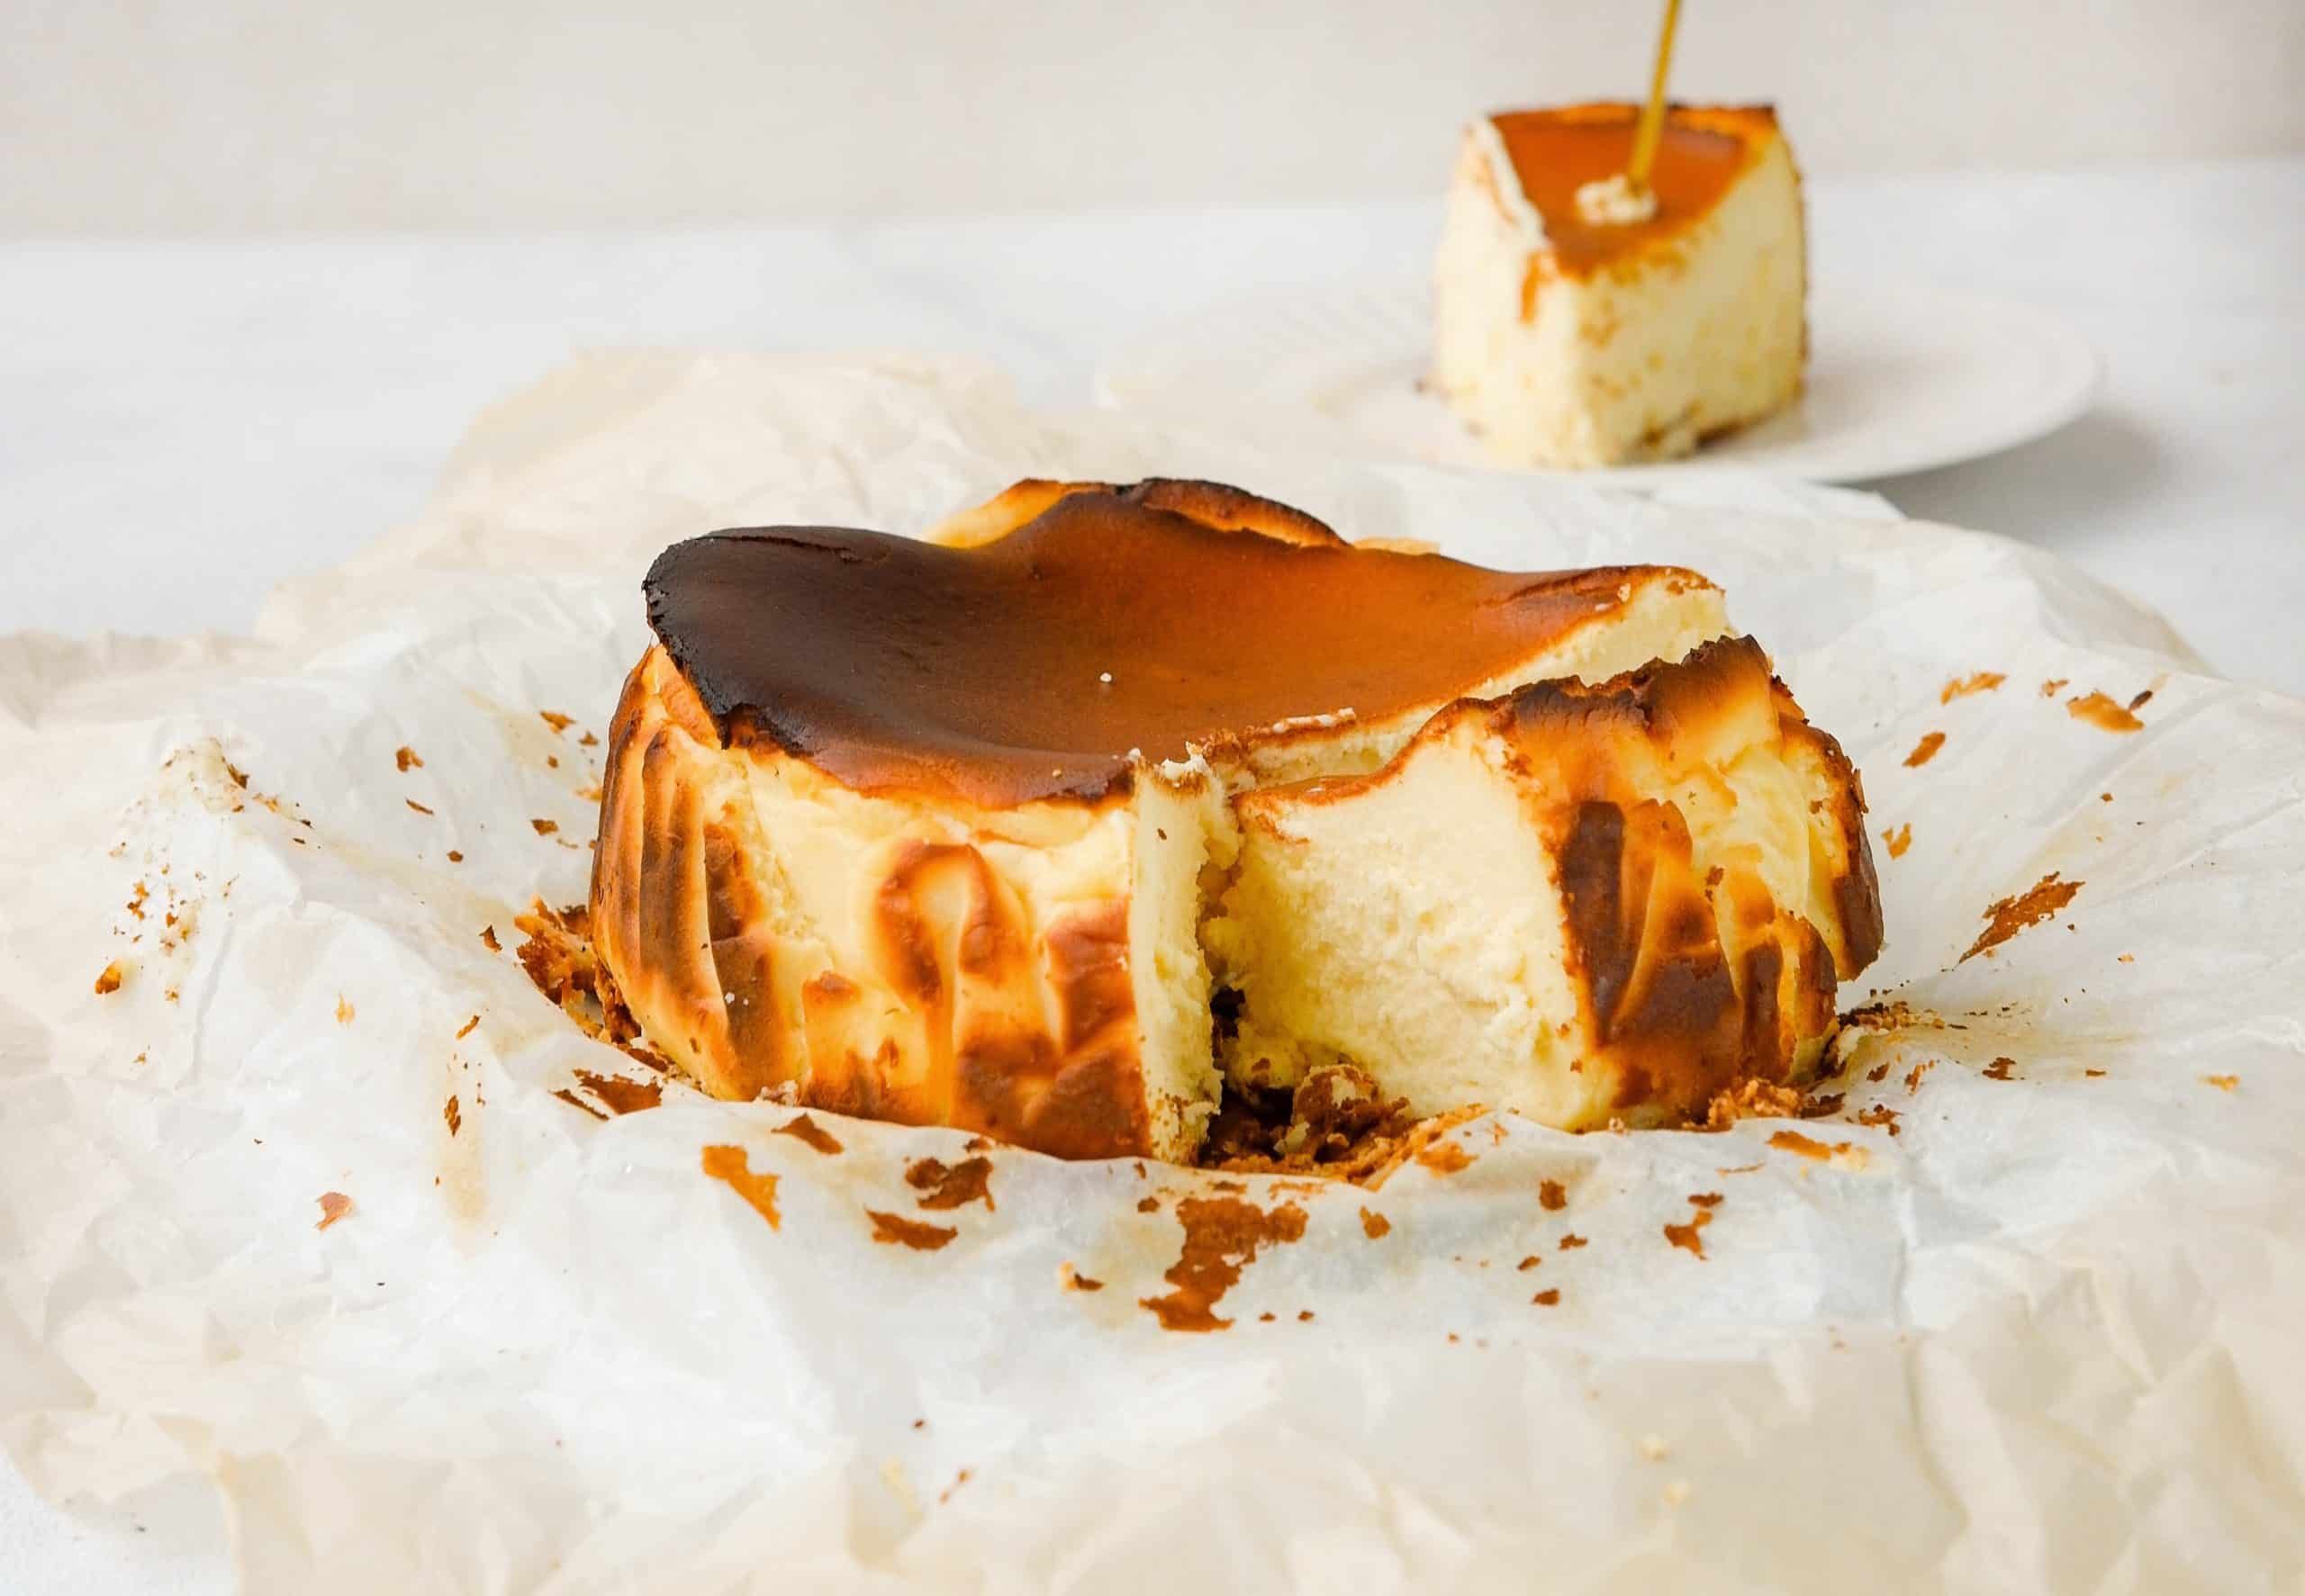
Recipes

How To Make: Burnt Basque Cheesecake

Invented by chef Santiago Rivera at his traditional pintxos bar, La Viña, in San Sebastián, the burnt Basque cheesecake has become hugely popular over the past three decades. As well as being a famous dish amongst locals, the appeal has spread to restaurants all over the world, now offering their own copycat takes on the original burnt Basque cheesecake recipe. In an article predicting dining trends for this year, the New York Times even went so far as branding it “the birthday cake par excellence of 2021,” describing its flavour as “the taste of the year”.

Contrary to the name’s suggestion, burnt Basque cheesecake isn’t actually burnt, as such. Baked in a hot oven, the cheesecake rises like a souffle and the top becomes deeply browned, which takes on a gorgeous flavour somewhat similar to salted caramel, brown sugar, and brown butter. Unlike New York-style cheesecake, which is arguably the most popular style in the UK, burnt Basque cheesecake is extremely light with an airy texture and doesn’t contain a crust. In place of a crust, the firm outer layer is developed by cooking at a high temperature. Although the dish looks heavily charred, the caramelisation flavour is also fairly mild. The absolute best versions of the dish are also some of the less conventionally attractive, with rough, irregular edges from cooking the cheesecake in layers of greaseproof paper, while the centre is soft and runs across the plate like a particularly ripe camembert.

In addition to being absolutely delicious, burnt Basque cheesecake is also simple to make at home. This take on the dish features just a handful of basic ingredients, mixed together and poured into a 10-inch spring-form baking tin over layers of greaseproof paper. The cheesecake is then baked for between 35-60 minutes, depending on how runny you’d like the centre to be, then left to cool completely before eating. Best enjoyed the next day alongside a glass of Pedro Ximenez sherry wine, as is typical at La Viña. 

Print

Burnt Basque Cheesecake

A Spanish classic, with a gorgeous caramelised flavour and soft centre.
Course Dessert
Cuisine Basque, Spanish
Keyword Burnt Basque Cheesecake, Cake, Cheese, Cheesecake
Prep Time 10 minutes
Cook Time 45 minutes
Total Time 55 minutes
Servings 10 slices
Author Jon Hatchman

Equipment

  • 10-inch spring-form baking tin
  • Greaseproof paper
  • Stand mixer with paddle attachment (not essential, but recommended)

Ingredients

  • 900 g full-fat cream cheese
  • 300 g sugar
  • 5 large eggs
  • 500 ml double cream
  • 50 g plain flour sifted
  • ½ tsp salt
  • 1 tsp vanilla extract

Instructions

  • Preheat your oven to 200C/Gas 6.
  • Spray a 10-inch spring-form baking tin with non-stick spray and line with two large sheets of overhanging greaseproof paper, each sprayed with the non-stick spray.
  • In the bowl of a stand mixer fitted with a paddle attachment, mix the cream cheese for a minute on medium speed then add the sugar and continue to mix for 2 minutes. This can be done by hand, but a stand mixer is recommended. Pause occasionally to scrape down the sides and bottom of the bowl, to make sure all is well combined.
  • Add the eggs, one at a time, and mix slowly until completely incorporated, continuing to scrape down the sides and bottom of the bowl.
  • Once the eggs are all incorporated, add the cream, salt, and vanilla extract then continue to mix for 30 seconds.
  • Remove the bowl from the base of the mixer and add the sifted flour, 1 tablespoon at a time, and fold with a spatula until combined.
  • Pour the mixture into the lined baking tin and place in the bottom shelf of the oven, giving the cheesecake space to rise like a souffle. Cook for 45-50 minutes for a firmer centre, or 35 minutes for a softer centre. The top should be well coloured, but check towards the end of cooking to make sure it doesn’t burn. If the top isn’t caramelised once the inside is cooked, place under the grill for 2-3 minutes, but keep an eye on it to prevent burning.
  • Once cooked allow the cheesecake to cool to room temperature before eating – or even better, chill overnight in the fridge and enjoy cold the following day.
Jon Hatchman

Jonathan is Food Editor for The London Economic. Jonathan has run and contributed towards a number of blogs, and has written features for publications such as Eater London, The Guardian, i News, The Independent, GQ, Time Out London and more.

Published by
Tags: Food Recipes